

- Performance: Vercel Edge Config is a global data store that provides near-instantaneous access to your data, making it perfect for handling feature flags.
- Streamlined: The GrowthBook SDK automatically sends feature flag values to Vercel Edge Config, keeping your data in sync.
- Developer Experience: The Vercel Toolbar enables your team to inspect feature flags, locally override their values, and see changes.
Use Vercel Edge Config to Store GrowthBook Feature Flags
To set up Edge Config:- Log in to Vercel and select your project. Navigate to Storage.
- Create a new Edge Config and save the ID (starting with
ecfg_) to use later. If you’re part of a team in Vercel, also save your Team ID. Note that even personal accounts may have a team. - Navigate to Account Settings → Tokens and create a Vercel API Token. Save the value to use in the next step.
Create a GrowthBook SDK Webhook
In GrowthBook:- Navigate to SDK Connections. Open or create a JavaScript SDK connection.
- Add a new SDK Webhook and set the type to
Vercel Edge Config. - Add your Edge Config ID, Vercel API Token, and Team ID.
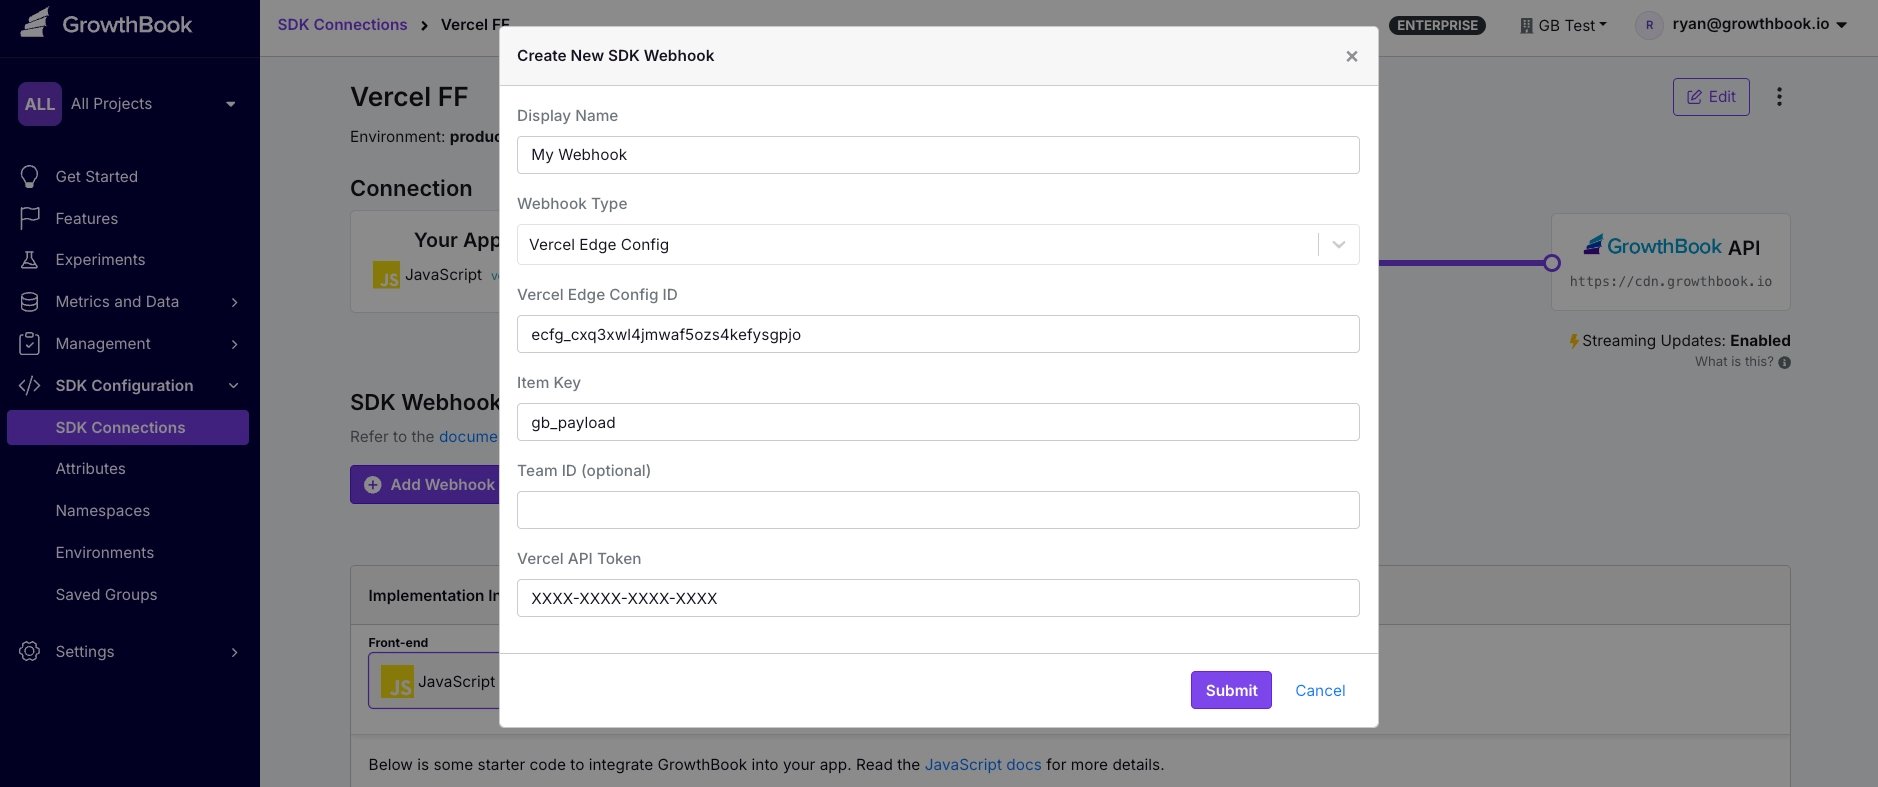
If you receive an
items exceed size limit error, it means your feature flag payload is too large.
Vercel limits the size of your Edge Config store depending on your plan. You can either reduce the number of flags or upgrade your Vercel plan.Configure Next.js
In your Next app, install the required dependencies:flags.ts
Create autils/flags.ts file in your project. This file configures the GrowthBook SDK and defines some helper functions to use feature flags throughout your app.
TrackFlags.tsx
Create autils/TrackFlags.ts file in your project. This client component sends a tracking event whenever a user is exposed to an A/B test. Replace the console.log with your own tracking callback.
Set Up Environment Variables
Pull in environment variables from your Vercel project:.env.local file in your project with the EDGE_CONFIG key.
Create Feature Flags in GrowthBook
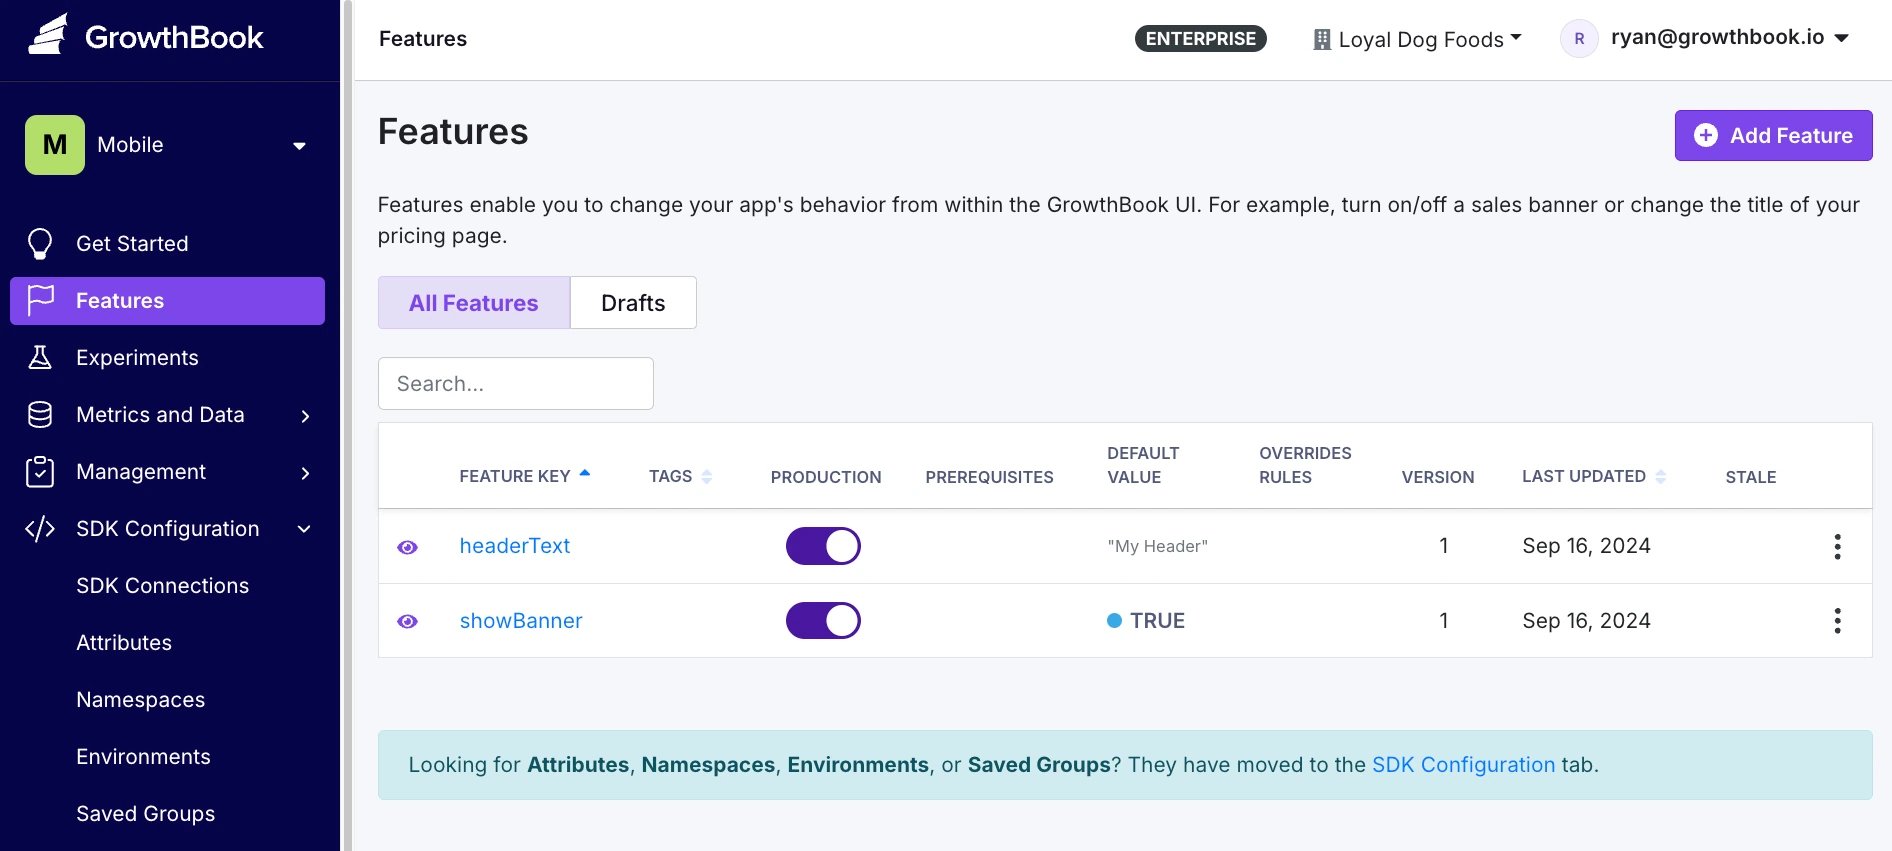
In GrowthBook, create 2 new feature flags:
Your flags should look like this:
Use Feature Flags in Your Next.js App
Openpage.tsx (or your main component) and add:
🎉 Bonus: The Vercel Toolbar
Use the Vercel Toolbar to locally override flag values and see real-time changes.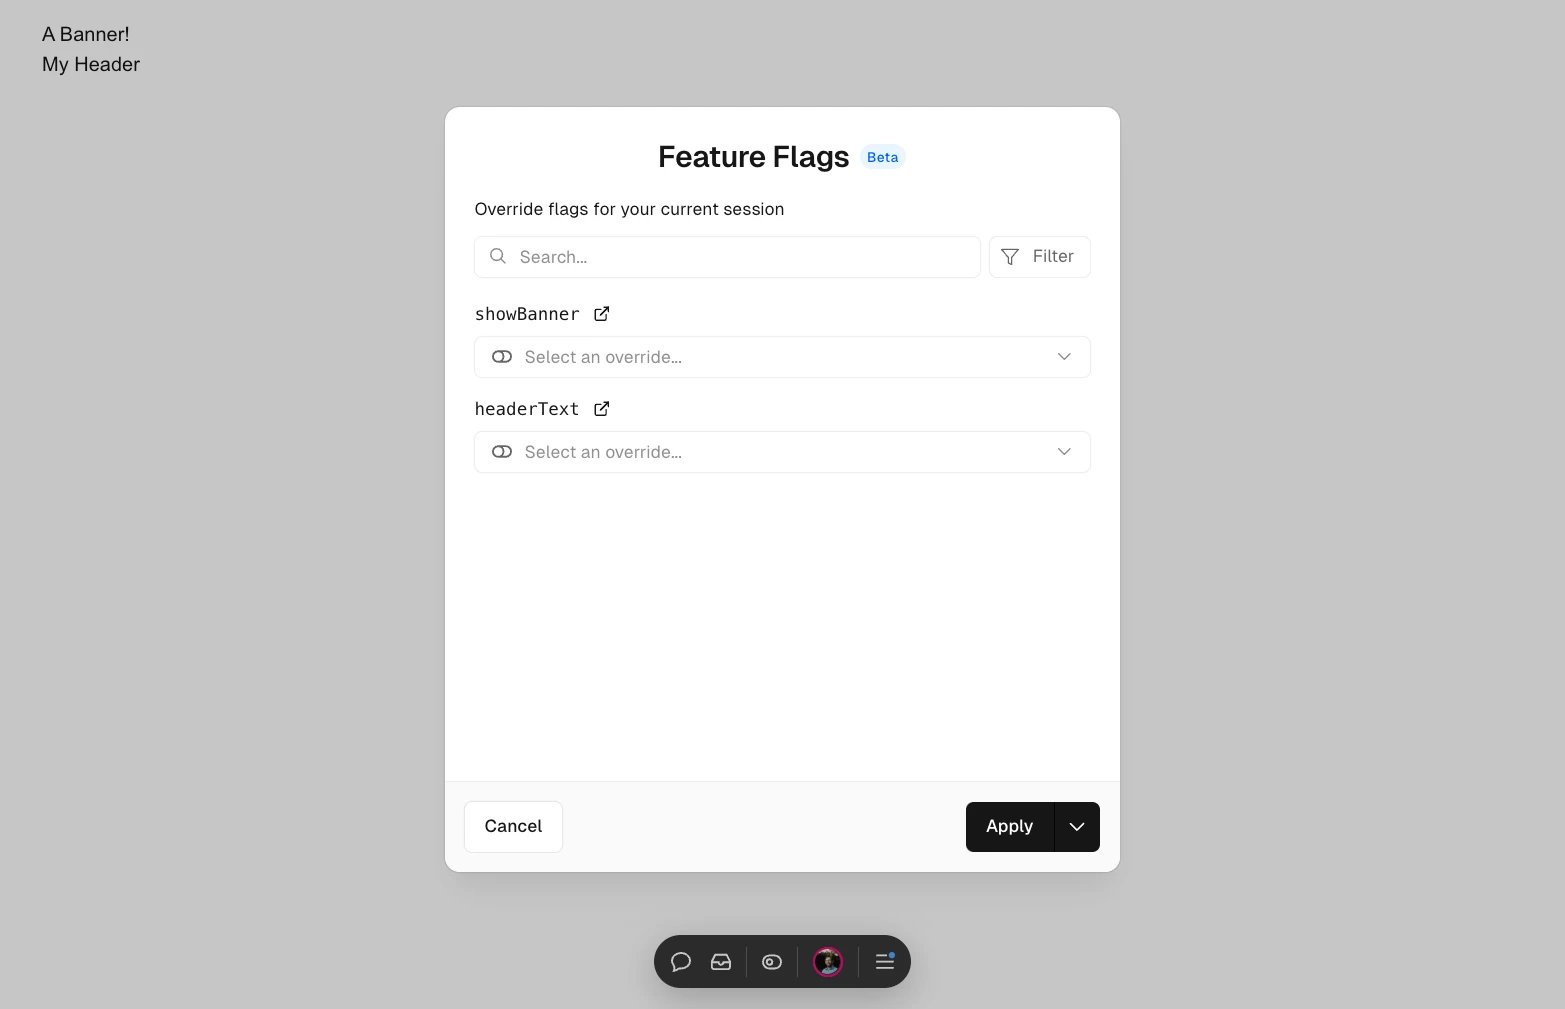
Enable the Toolbar
Create a new file,app/.well-known/vercel/flags/route.ts, in your project:
Set Up the FLAGS_SECRET Environment Variable
- Generate a new secret key:
-
In your Vercel project settings, create a new environment variable called
FLAGS_SECRET. Paste the generated key as the value. -
Locally, run
npx vercel env pullto update your.env.localfile with the new environment variable.