

- You know exactly what you want to change and you want pixel-level control.
- You’re fine-tuning a variation that started in AI mode.
- The change is too narrow to be worth a prompt (e.g., “make this padding 12px”).
- You want to copy a specific style from a design spec.
Picking an element
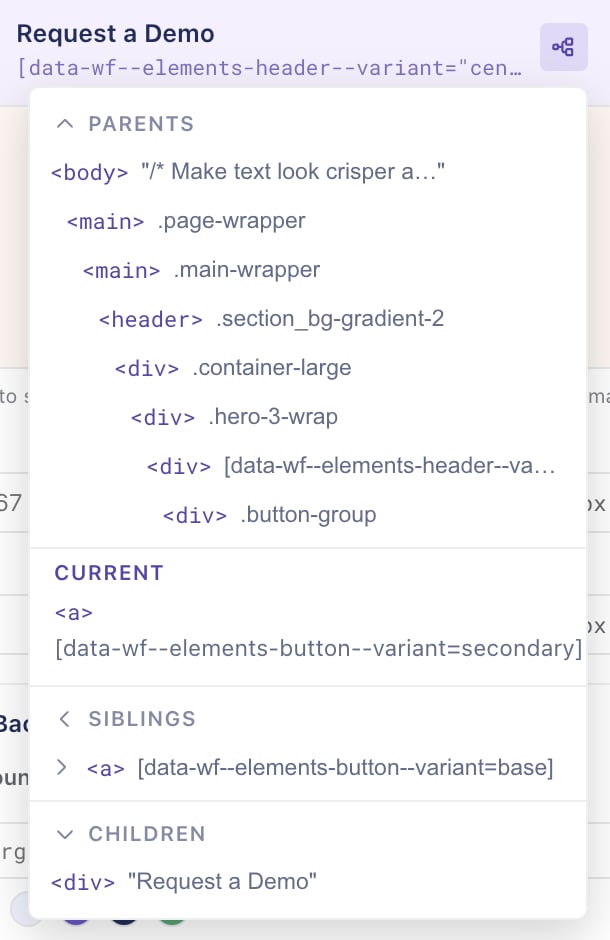
Switch to the Manual tab in the side panel. With the panel open, hover any element on your page — it highlights with a blue overlay. Click to select it. A sticky bar at the top of the side panel shows what’s currently selected (its tag, classes, and a short selector path). You can:- Pick a different element — click another element on the page, or click the picker icon in the sticky bar.
- Navigate nearby — use the “tree” icon to navigate to nearby elements. See below
- Deselect — click the x on the right side of the selected bar or pick another element to deselect the current one.
Detailed Selector
Property groups
Once you’ve selected an element, the panel fills with collapsible property groups. Each group corresponds to a category of change.Content
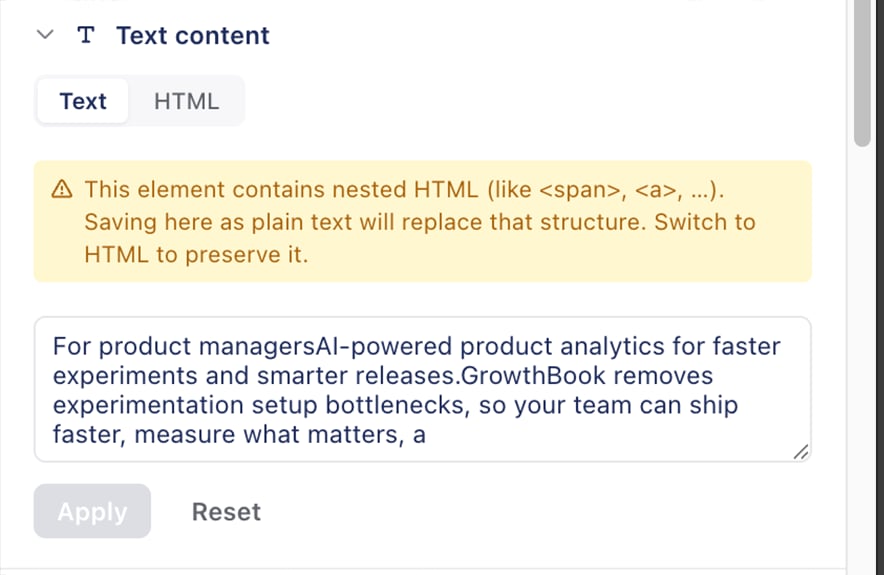
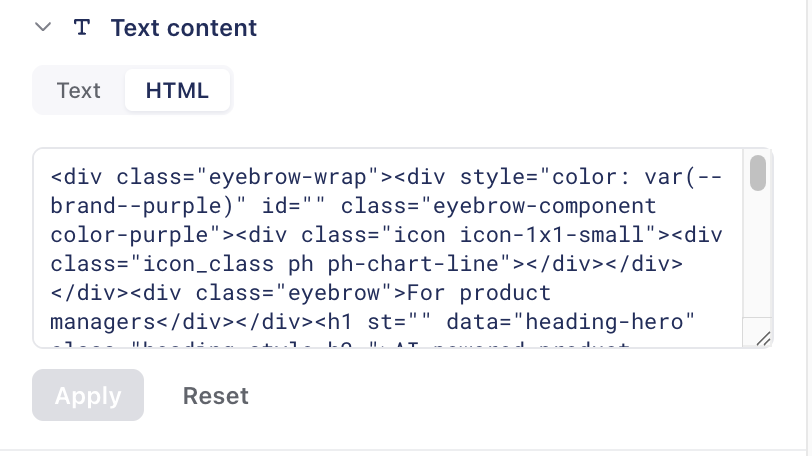
- Inner HTML — change the visible text or markup inside the element. Multiline-supported.
Links
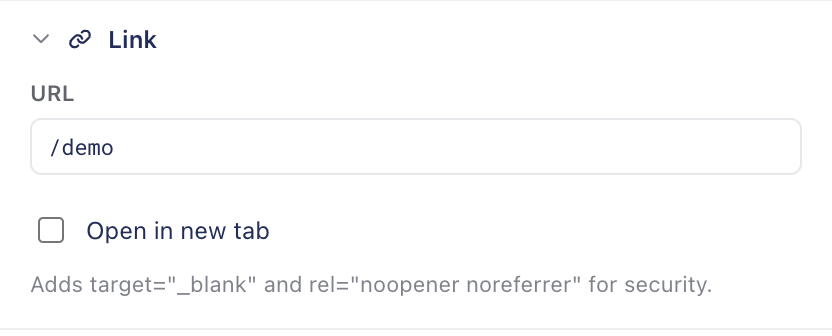
<a>), you’ll get additional controls for editing the URL and link behavior. It will
let you set the href, and the option to open in a new tab (target="_blank"). If the link opens in a new tab, it will add rel="noopener noreferrer" attribute for security.
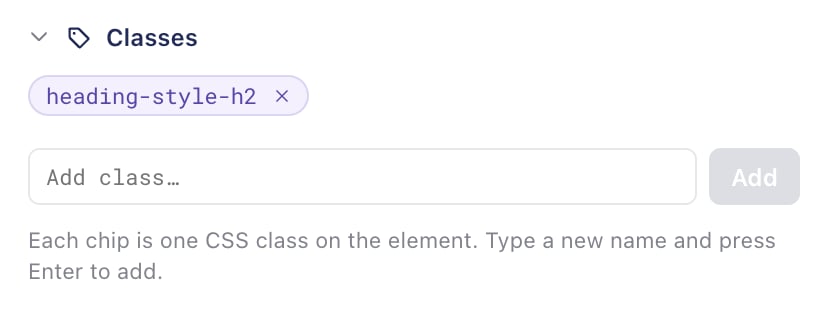
Classes
Typography
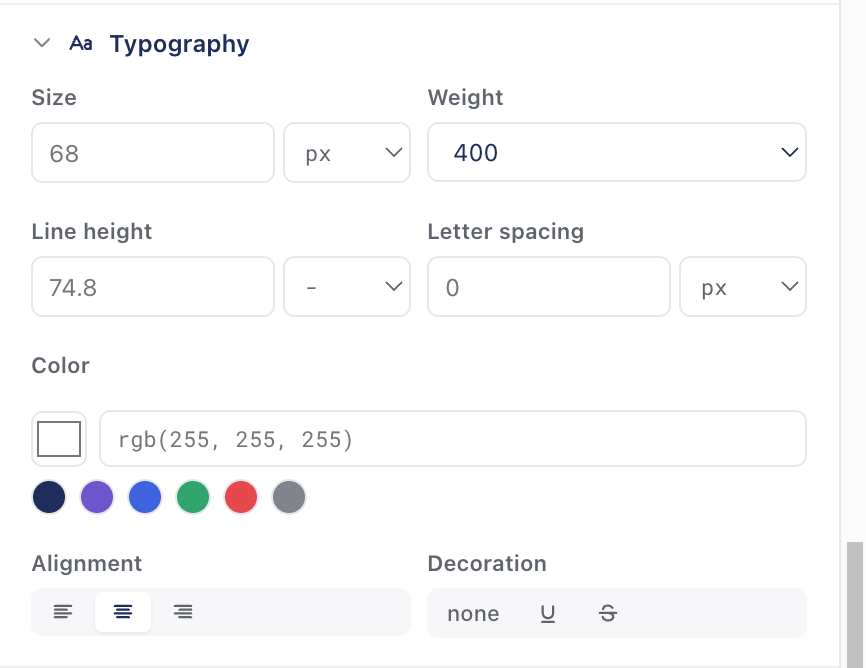
- Font size — with a unit selector (
px,em,rem,%) - Font weight — preset weights and custom numeric input
- Color — color picker plus hex input
- Alignment — left / center / right / justify (segmented control)
- Line height — unitless,
px,em,rem, or%. Empty unit (-) means unitless, which is the CSS recommendation for line-height. - Letter spacing —
px,em - Text decoration — none / underline / strikethrough / overline
Background & Border
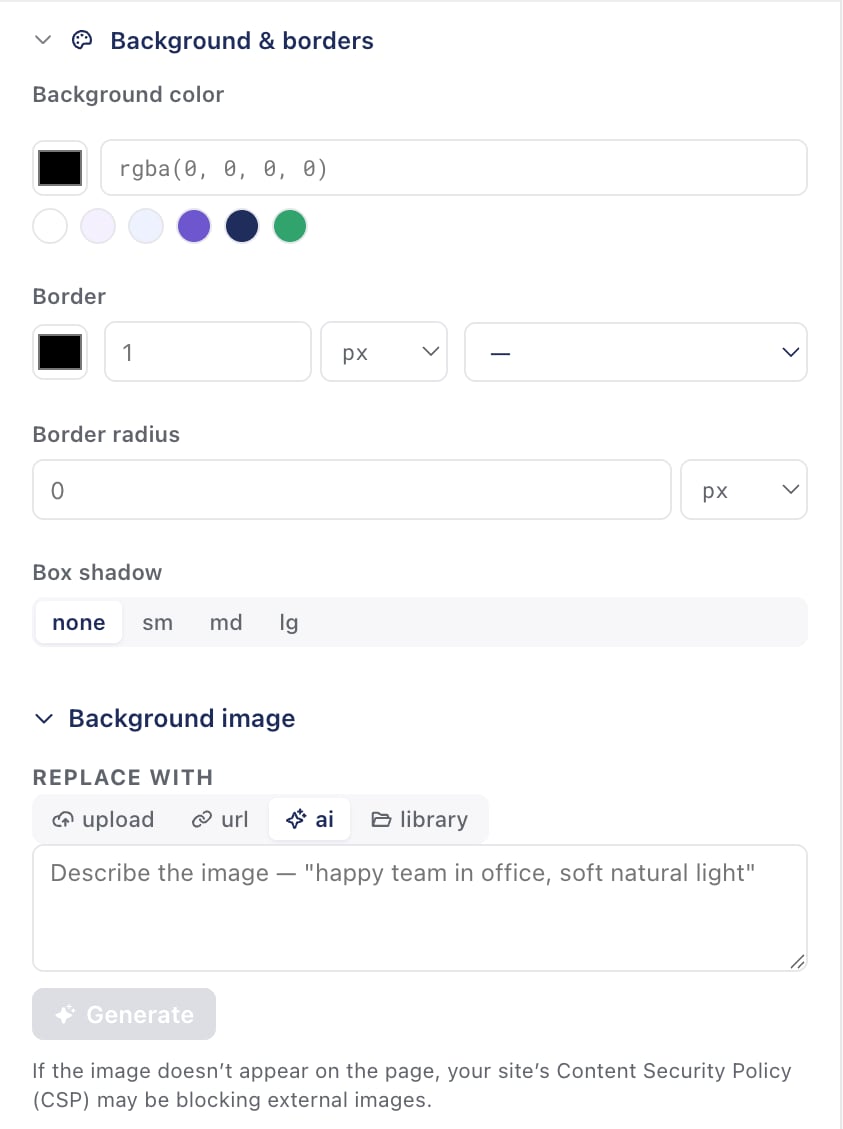
- Background color — color picker with a clear option
- Border — width, style (solid / dashed / dotted / none), and color. The color swatch is positioned so the native color picker doesn’t render off-screen for elements near the right edge of the viewport.
- Box shadow — None / Small / Medium / Large presets. The presets follow common design-system scales; for custom shadows, use Global CSS.
- Background image — paste a URL or use one of the image flows. Hidden on
<img>elements (use Content → image replace instead).
Background Images
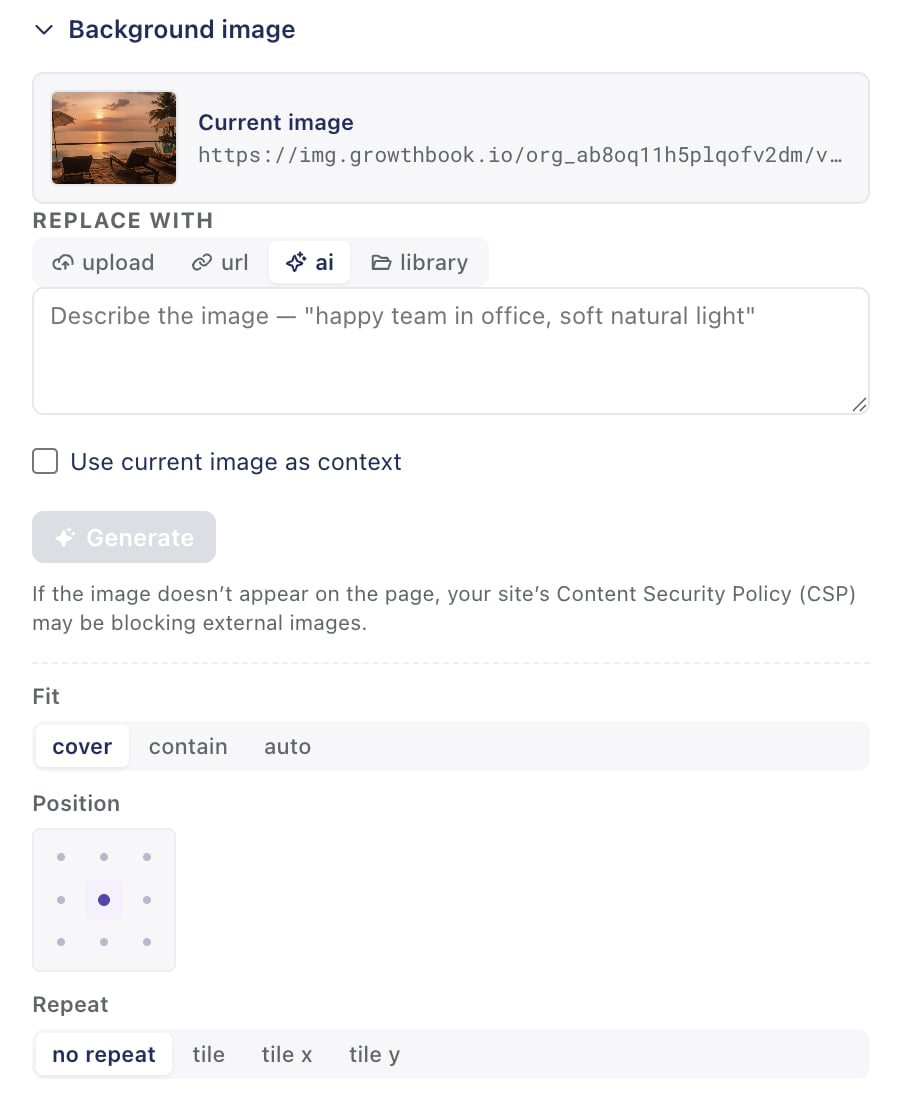
<img> replacement, but has a few more options for fitting that background images have.
Layout
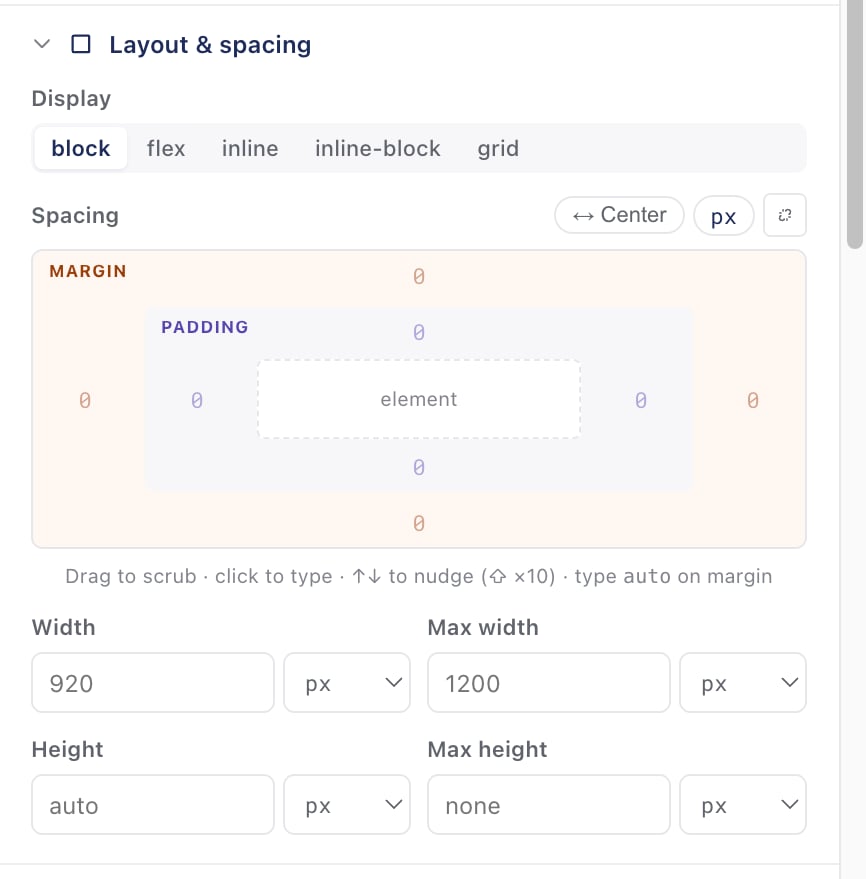
- Display type — choose between
block,inline-block,inline,flex,grid, andnone. Setting tononeis a quick way to hide an element without removing it from the DOM. - spacing — click and drag horizontally over a value to scrub it up or down (similar to Figma) for padding and margin.
- Width & Height — Select the width, max-width, height and max-height for your element. With unit selectors. Setting to
autoremoves the mutation.
padding-top, margin-right, etc.) and clears any shorthand padding/margin declaration, so the CSS cascade behaves predictably.
Visibility
- Hide this element — a quick toggle that sets
display: none. - Opacity — slider from 0% to 100% plus a number input. Setting to 100% removes the mutation (no point keeping
opacity: 1on the element).
Global CSS and Custom JavaScript
For changes that don’t fit cleanly into a single element’s property groups, use the top-level CSS and JS tabs:Global CSS
Inject a CSS block that runs alongside the variation. Useful for:- Page-wide background color or font changes
- Hover states that the structured controls can’t express
- Animations
@mediaqueries for responsive tweaks (the only way to scope changes per breakpoint today)
<style> tag scoped to the variation and removed when the user is bucketed back to control.
Custom JavaScript
Inject a JavaScript block. Use sparingly — it’s an escape hatch for changes that genuinely need imperative code (e.g., DOM nodes that don’t exist until the user clicks something). Custom JS runs as early as possible, often before the page has finished loading. If you’re targeting elements that load late, wait for them:Next steps
- AI mode — draft variations from a prompt, then fine-tune here.
- Images — upload, AI-generate, and reuse images across experiments.
- Preview and QA — preview links, debug panel, live-experiment warning.
- Troubleshooting — when a variation isn’t behaving as expected.